Only the best from a bulletin board full of experience in such varied interests as poultry, art, good food, and Ohio history.
Come along on the adventure!

Be sure to also check out ohloveofgeocaching.com for travel and caching adventures!

Saturday, August 23, 2014

Spotting a Rooster

Backyard Poultry
First Sign of  a Cockerel
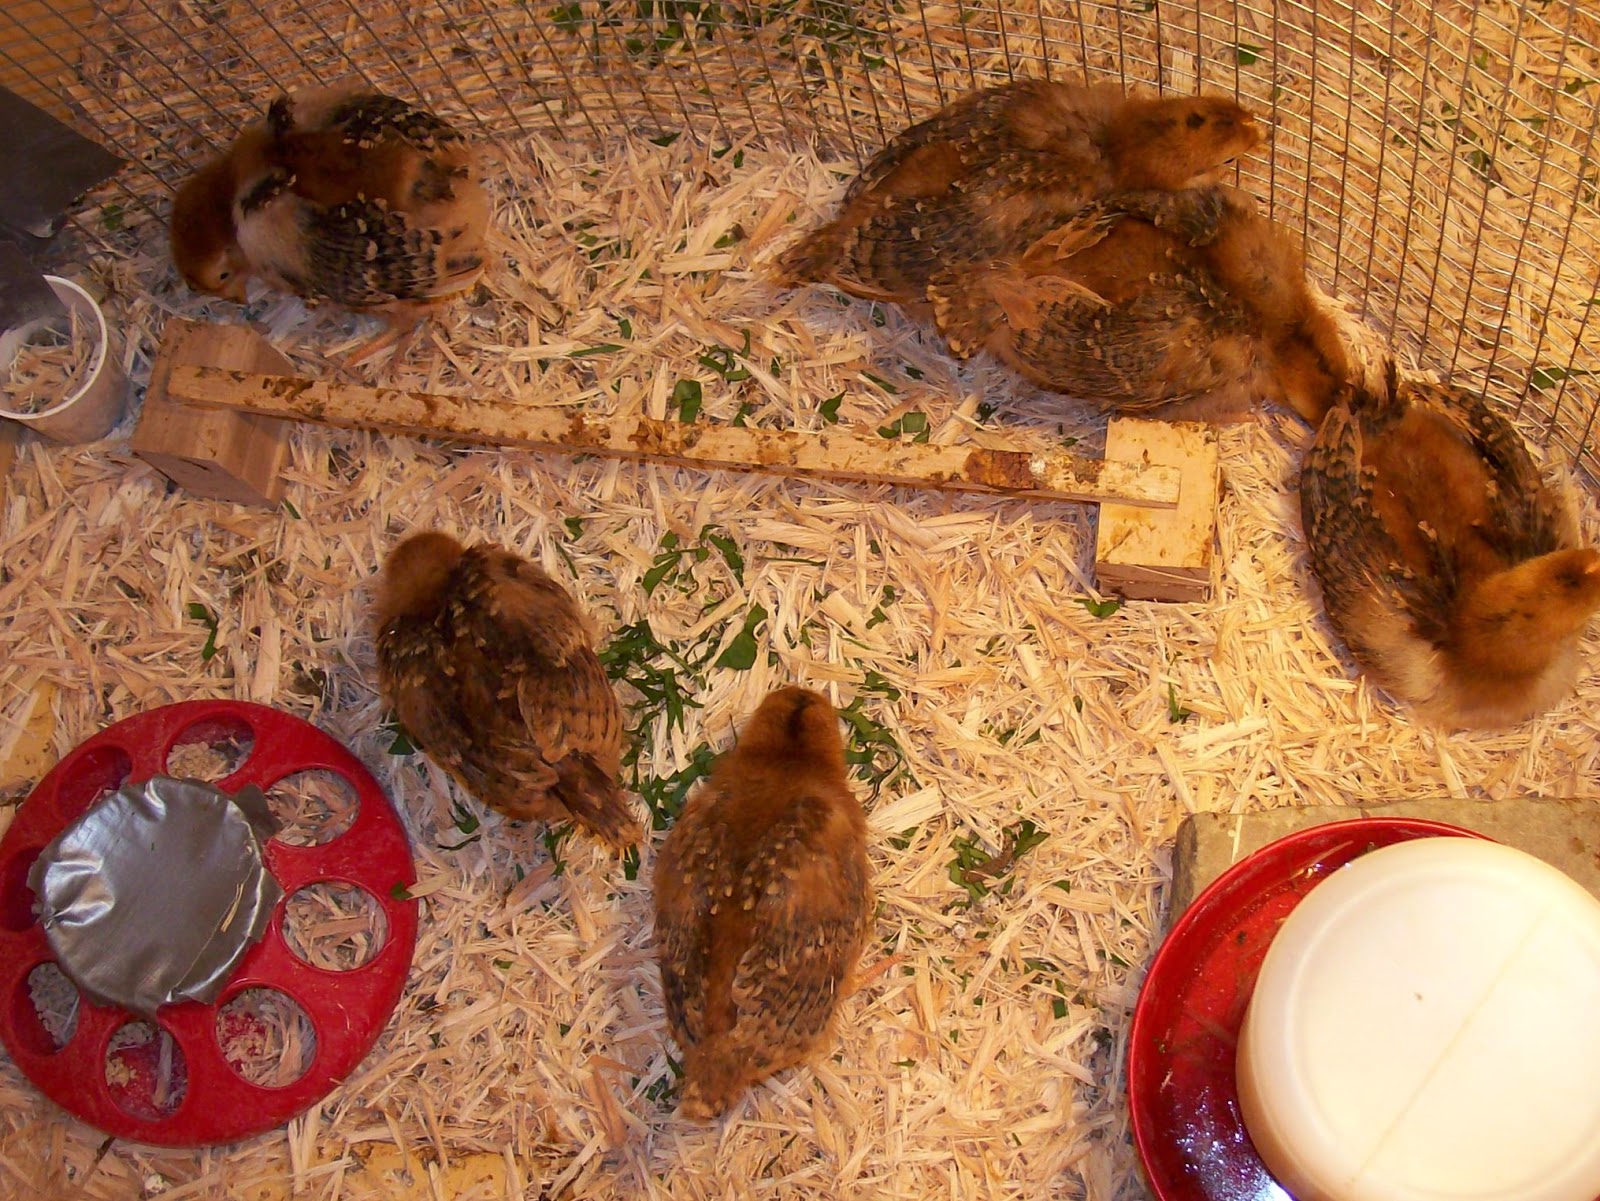
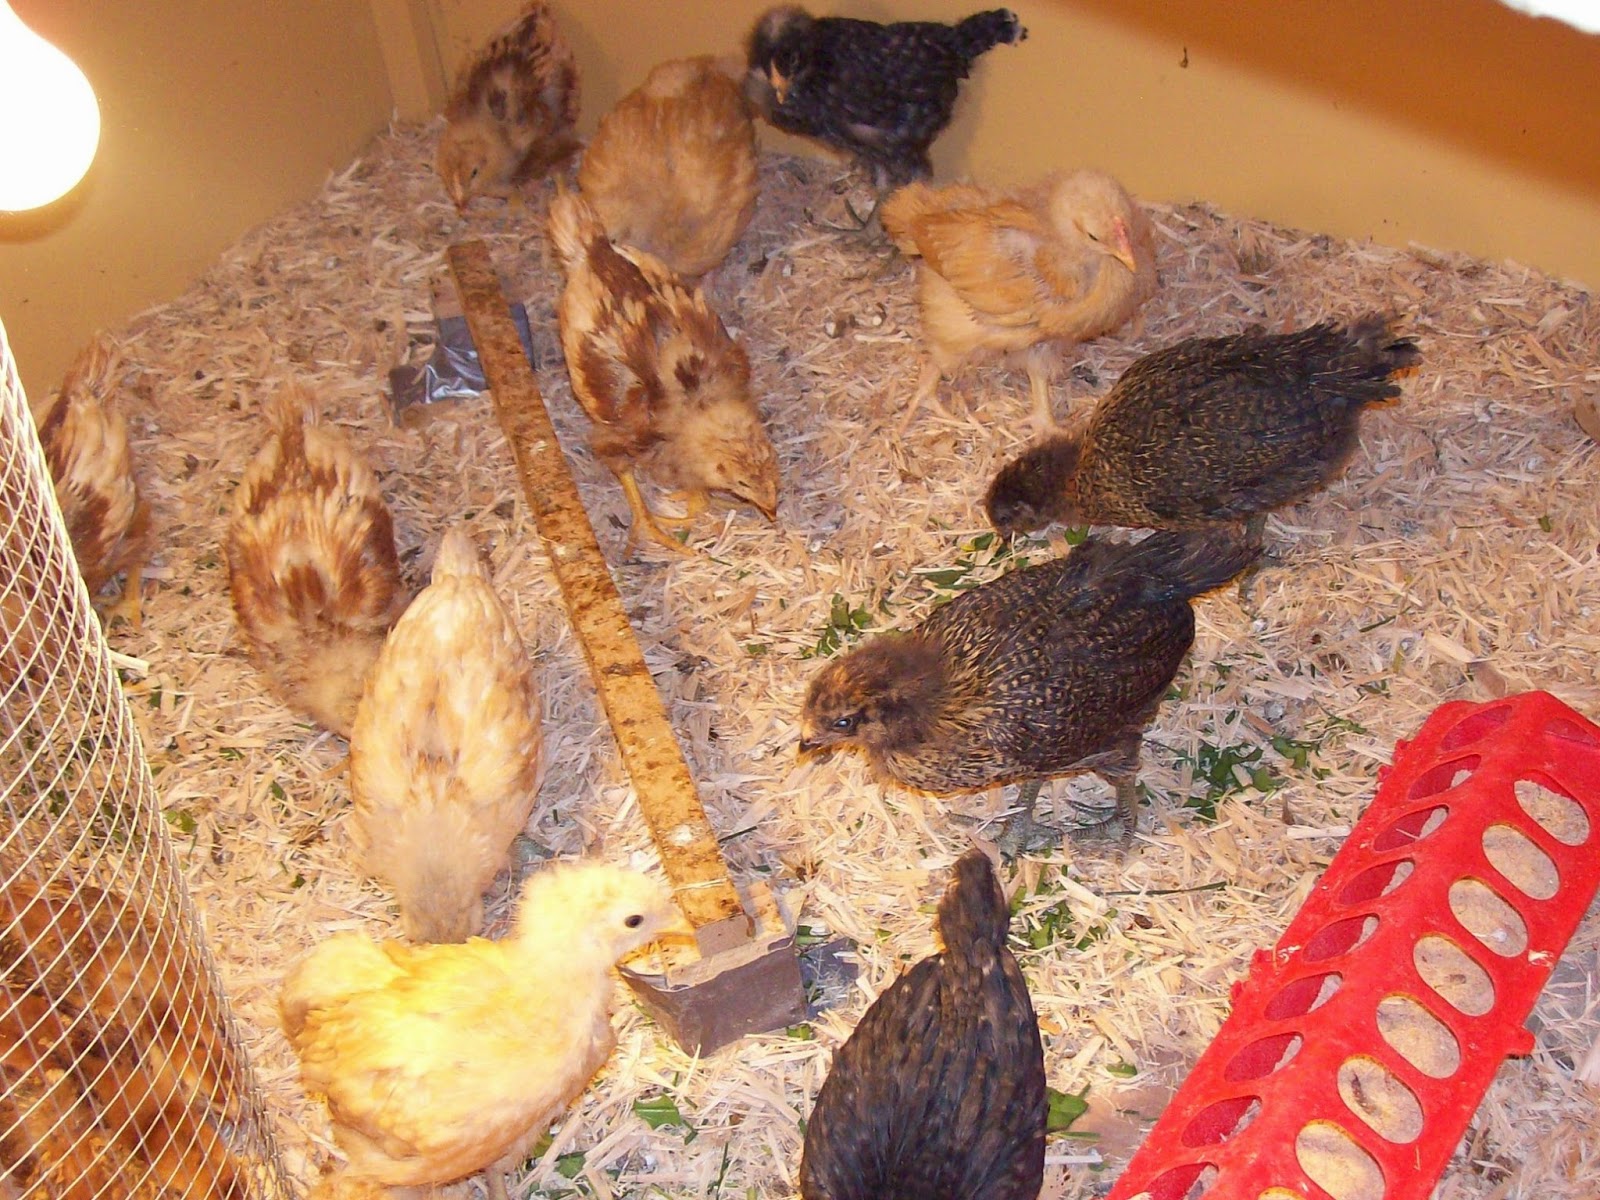
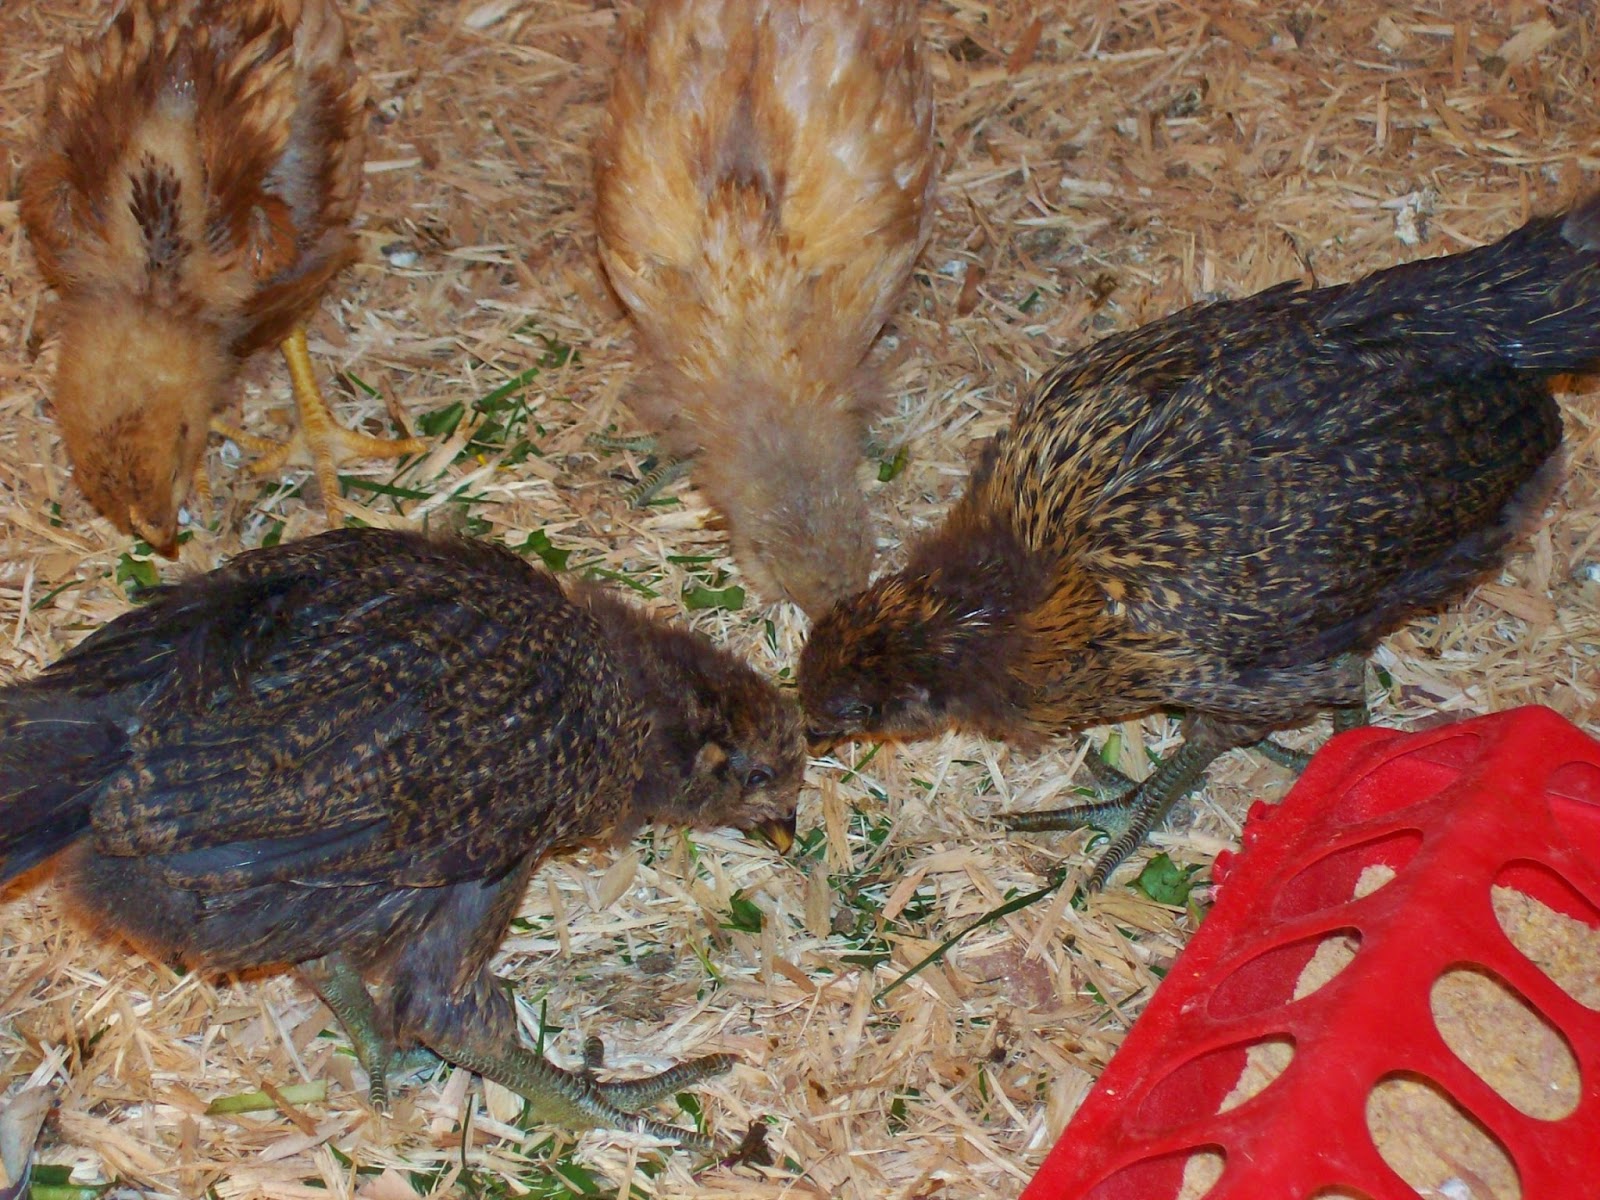
Adult feathers were not the only things appearing on the growing chicks. The beginnings of their combs were also beginning to be seen. On most the chicks, all we could see at this point of the emerging combs were tiny pink spots. But there was one Buff Orpington whose comb was much more grown out. As you can see in the picture above, the lobes (that's what the lumps on the comb are called) were already distinctly formed. There's only one explanation for this: the chick is a cockerel (a young rooster). Now, of course, we ordered all pullets (hens) from the hatchery; but, of course, they could not guarantee that no cockerels would slip into the batch. So, it seems, out of the fourteen chicks I received, one Buff Orpington is a rooster. But we will have to wait a bit longer to be sure.

Wednesday, August 20, 2014

New Feathers

Backyard Poultry
Three Breeds
The other chicks' feathers were also growing as rapidly, if not as colorfully, as the Auracanas. Can you identify the breed of each chick above? The one on the far left is a Buff Orpington. Although its head is still covered in fluff, its back and tail feathers are showing the golden color of the adult hen. The Barred Rock in the middle is still mostly black, with only a few white highlights. It will not be until these chicks are much older that they get the characteristic zebra stripes of the adult Barred Rock. Finally, on the right, as well as in the photo below, the Golden Buff is growing a striking mess of feathers.
Golden Buff
It seems these Golden Buff chicks cannot decide between the white feathers of the White Rock and the brown of the Rhode Island Red! You can see the whole range from brown to white in the chick below. The color pattern will definitely change several times before the chicks grow up, and each hen will definitely be unique. That's the beauty of crossbreeds, I guess.

Monday, August 18, 2014

Auracana Lace

Backyard Poultry
Easter Egg Trio
The feathers on the Auracana chicks were especially pretty as they grew out. You can see all three "Easter egg" chicks in the picture above. The two in the front, Pinecone and Walnut, had beautiful gold-brown lace around their heads and necks, with black and gold mottling on their wings and tails. Birchie, the one in the center back, was a complete contrast. Its gray fluff was replaced by striking peach-tan and white feathers. The striped coloring seemed just like the bark of a birch tree. I guess we chose the right name for Birchie! But the darker ones were still my favorites - it looked to me like they'd each been draped with a shawl of gold lace.

Friday, August 15, 2014

Growing Reds

Backyard Poultry
Six in the Bed and the Little One Said . . .
The little Rhode Island Reds, though only a week old, were getting big as well. If you remember, they did not hatch with the rest of the chicks and we had to get them two weeks later (see the story right here). The feathers are nearly all grown out on their wings already, with black, white, and brown crisscross stripes. The chicks were very curious and adventurous. In the photo above, they got themselves all packed onto the roost I put in! Below, the little birds are receiving their first chopped-up grass and dandelion leaves. They caught on right away - they loved to imitate the older chicks next door!
Eating Greens
 

Wednesday, August 13, 2014

Three Weeks Old

Backyard Poultry
Getting Bigger
We had better get back to those chickies - they are growing faster than you can imagine! At three weeks, they were nearly all decked out in feathers instead of down. And at least five times bigger (in my estimation). The chicks did not tire so easily, and spent more of the night sleeping and more of the day moving about. They were still in that discovery stage where everything in the world seemed new and adventurous. They curiously checked out each new delivery of chopped greens I dropped in. And they kept a close eye on their neighbors, the little Rhode Island Reds you can see in the bottom left corner behind the screen. In fact, all the breeds are represented in this photo - can you pick out the Buff Orpington, Barred Rock, Golden Buffs, and Araucanas?

Sunday, August 10, 2014

Pond Trio

Artist's Gallery
A Trio of Three Ponds
Interestingly enough, both of my oil paintings are not displayed together in my house. Mud Valley Reflections joined a number of my Amish country paintings in our living room (Walk in Mud Valley, The Way Home, and Walking Home). On the other hand, Fish Pond Shed found its place in the kitchen in an interesting trio of paintings. It matched my painting Water Lily Lake nicely: though the ponds are different, the colors are the same. I also had another small painting of the same pond as in Fish Pond Shed. You can see it up close below. It was a bit challenging to fit such a horizontal scene into a vertical frame! I really like how the light in the sky and water came out though. And the ripples in the pond - those are especially pretty I think. The farm and shed, well, they're decent enough. Anyway, this painting completed the trio nicely. I was happy to be done with those messy oil paints!
Fish Pond Study

Friday, August 8, 2014

Fish Pond Shed 2

Artist's Gallery
Final Touches
After a little bit more work, my second oil painting was finally finished. Did you think everything was complete on the building in my last picture? Look again. For some reason, I forgot to paint the porch roof post shadows at the same time as the rest of the shading on the building! Well, I had to mix up more paint (which does not exactly match) and put those shadows in. In fact, I still forgot to put them in on the building in the reflection! Oh, well. Then I added some more highlights in the trees, and also along the pond edge. The yellow ochre on the bushes around the pond ties in with the field and adds some interest. I'm actually pretty happy with how it came out.

Wednesday, August 6, 2014

Fish Pond Shed 1

  Artists Gallery
Beginning
Encouraged by the relative success of my first painting in oils, I embarked on another. At this point I was actually taking a class every week in oil painting. So I chose a pretty ambitious picture to try. This scene is actually from the same set of fish ponds, and focuses on the little white shed where the fish keeper stored his fish supplies and feed. For whatever reason, I did not take any pictures until this stage, probably the third layer of oils.

I began with light blue sky, repeated in the water but going down into a deeper blue. The trees were a background of mahogany browns, highlighted in an almost purplish-red on the tree tops. The grass, in turn, came out a range of ochre-tinted greens, with a plain ochre strip midway back. This made for a very interesting combination of colors in the painting, one which I was not too thrilled with. But my art teacher seemed to be happy with the bold use of color, and I went on a painted in the shed. Getting those rooflines straight was something else.

Sunday, August 3, 2014

Mud Valley Reflections 4

Artist's Gallery
Finished Painting
Now for the finishing touches. I was itching to paint the red tree leaves in the front, but I knew I had to completely finish the rest of the painting first. If anything behind was still wet, the tree leaves would get muddy and smudged. First I added a few more highlights on the trees and grass, as well as their corresponding reflections. Next came the cows - and they were not easy to create. Some of them ended up looking more like train cars than four-legged animals! After making sure that was dry, I started in on the tree. It was really challenging since I knew that once I put the paint down, it would be really hard to remove it again! I built up the leaves with dark reds and maroons, then added brighter brick red on top. I think the red tree adds a nice frame on the picture without being too intense for the scene. See what you think of it compared to my watercolor of the same scene right here.

Friday, August 1, 2014

Mud Valley Reflections 3

Artist's Gallery
Adding Detail
After applying that previous layer of paint, I had to wait for it to dry. In contrast to fast-drying acrylic paints (literally five minutes), oils are incredibly slow. I mean, depending on the thickness and type of paint, oils can take from two days to a week to dry completely. It's definitely not a project for an afternoon sitting! While this is a benefit for blending and what not, it can test your patience as you wait to continue the painting. The messy factor can also be an issue, especially if you have to transport the wet painting home in a car! Well, my paint was dry within a week, and I prepared to add more detail to my painting. The barns were done in a grayscale from black to white, with the characteristic blue-green roof. The fence and tiny martin houses were even more difficult, given that I did not have a thin enough brush. They came out in that inexact, country style.