Backyard Poultry
 |
| Housing Renovations |
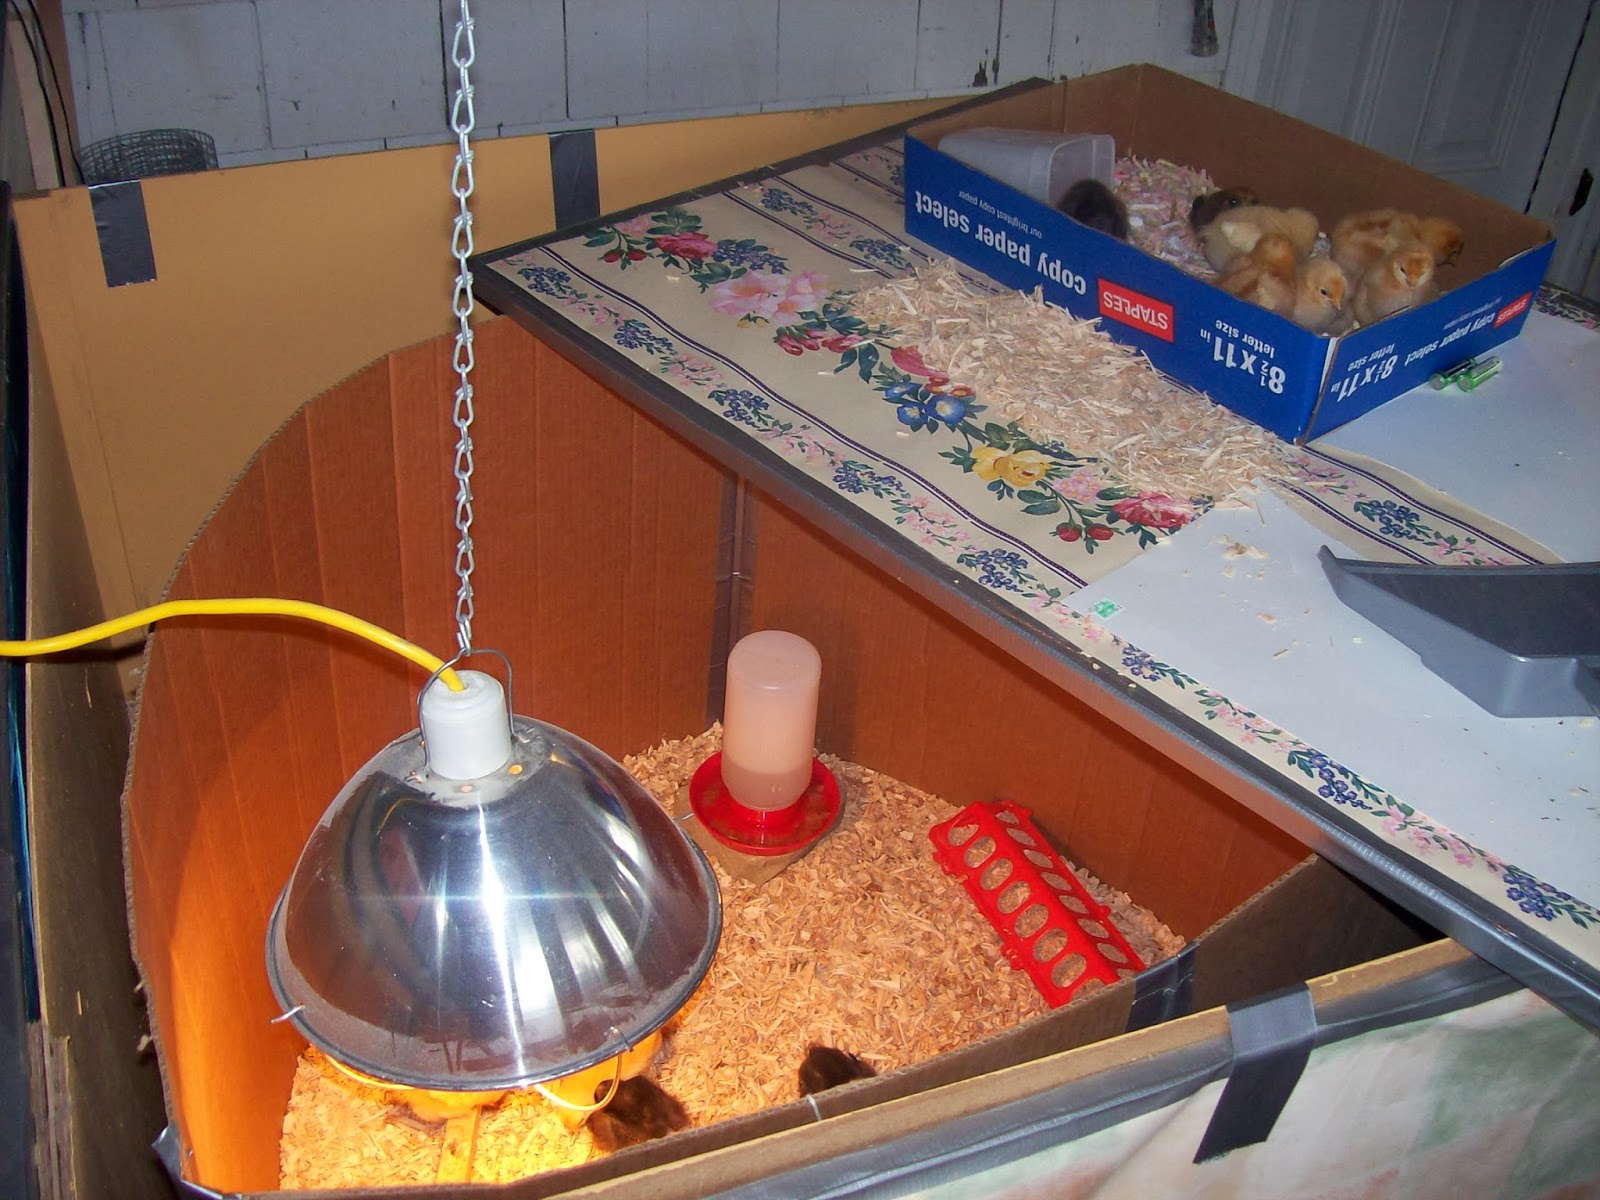
We started by building a real box, using plywood panels framed by wood stakes. It was generously large, about 4'x4', and the bottom was covered waterproofed with sheet plastic. The best feature was that one wall was hinged, so it could fold down flat to shovel out old litter. It was a breeze to clean out! Then I made a 'brooder guard' from a long piece of cardboard taped into a circle. This kept the young chicks in a small area directly under the light, and could be expanded and removed as they grew bigger. Yes, expandable housing. As a final touch, we used a piece of Styrofoam insulation as a cover on top to regulate the temperature inside this cozy brooder box.
2 comments:
It sounds like you sure learned from experience!
Very nice set-up!
Post a Comment