Only the best from a bulletin board full of experience in such varied interests as poultry, art, good food, and Ohio history.
Come along on the adventure!

Be sure to also check out ohloveofgeocaching.com for travel and caching adventures!
Showing posts with label Mud Valley Reflections. Show all posts

Sunday, August 3, 2014

Mud Valley Reflections 4

Artist's Gallery
Finished Painting
Now for the finishing touches. I was itching to paint the red tree leaves in the front, but I knew I had to completely finish the rest of the painting first. If anything behind was still wet, the tree leaves would get muddy and smudged. First I added a few more highlights on the trees and grass, as well as their corresponding reflections. Next came the cows - and they were not easy to create. Some of them ended up looking more like train cars than four-legged animals! After making sure that was dry, I started in on the tree. It was really challenging since I knew that once I put the paint down, it would be really hard to remove it again! I built up the leaves with dark reds and maroons, then added brighter brick red on top. I think the red tree adds a nice frame on the picture without being too intense for the scene. See what you think of it compared to my watercolor of the same scene right here.

Friday, August 1, 2014

Mud Valley Reflections 3

Artist's Gallery
Adding Detail
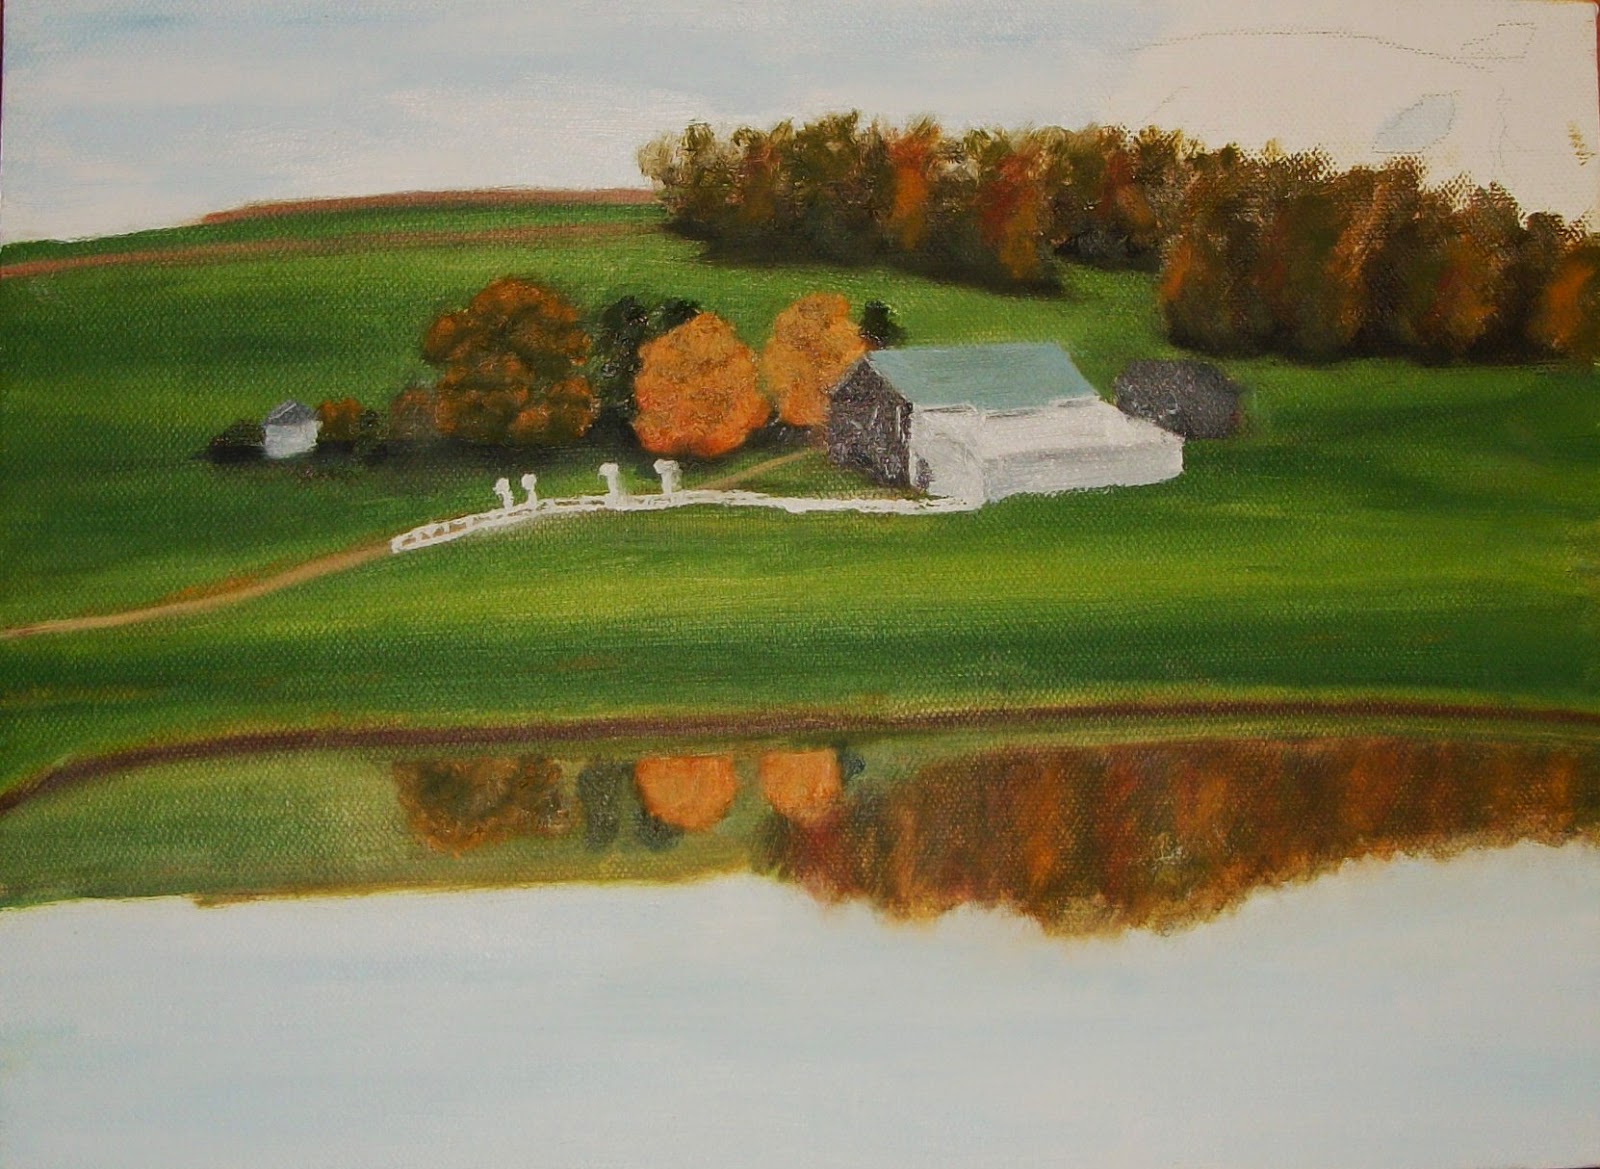
After applying that previous layer of paint, I had to wait for it to dry. In contrast to fast-drying acrylic paints (literally five minutes), oils are incredibly slow. I mean, depending on the thickness and type of paint, oils can take from two days to a week to dry completely. It's definitely not a project for an afternoon sitting! While this is a benefit for blending and what not, it can test your patience as you wait to continue the painting. The messy factor can also be an issue, especially if you have to transport the wet painting home in a car! Well, my paint was dry within a week, and I prepared to add more detail to my painting. The barns were done in a grayscale from black to white, with the characteristic blue-green roof. The fence and tiny martin houses were even more difficult, given that I did not have a thin enough brush. They came out in that inexact, country style.

Wednesday, July 30, 2014

Mud Valley Reflections 2

Artist's Gallery
Second Layer
After the first wash of oils had dried, I was ready to continue. I mixed full-strength oils in bolder colors to apply over the corresponding areas of the wash. The grass came out in smooth, brilliant shades of green, and the sky was a mixture of white and light blue. The trees, on the other hand, needed more texture. I loaded a scruffy-type brush with several shades of paint and dabbed it on, blending the leaves into the sky at the top. This is the beauty of oils: because they dry very slowly, you can accomplish a lot more blending. I could paint the sky and half an hour later still blend the tree leaves into it. You can especially see this effect in the grass. I think this blending ability produces a more professional, uniform painting in the end. Another benefit of oils is the brilliant, lasting colors that can be achieved. Acrylics just aren't as glossy, pigmented, or rich.

Monday, July 28, 2014

Mud Valley Reflections 1

Artist's Gallery
Beginning in Oils
Here is the beginning of another painting. Only this time, it's not the same old acrylic paint to which I am so loyal. After much persuasive talk from various artist acquaintances, I finally gave in and decided to try painting in oils. It's much more complicated than it sounds. I pretty much had to buy a whole new set of art supplies: oil paints (of course), paint brushes with oil-resistant glue holding the bristles in, and oil-quality canvas that wouldn't dissolve or become brittle under the oil chemicals. And instead of rinsing my brushes with water, I needed a special turpentine solution that would remove the oily paints. After cleaning my brushes, all the dirty paper towels had to be burned to prevent spontaneous combustion, and wet painting carefully transported home. I soon concluded that oils were, in a word, very messy. But still worth a try.
 
So here we go. To begin, I "watered" the paint down using a special thinner for oils, and applied a wash to cover the entire canvas. I tried to get the light and dark tones placed correctly, even if the colors were a bit off. This is based off a photograph, which I actually used for a watercolor a while back. You can check it out right here, and compare as the painting progresses.